How to create a Cart Page in WooCommerce
A cart page is an essential part of an e-commerce website. It is the page where users can pile up what they want to buy from the website and then simply check out by paying online.
To comprehend what a cart page does, think of it as a normal shopping cart in a store. People can keep adding whatever they want to buy in the shopping cart, and later, check out at the counter to see the product.
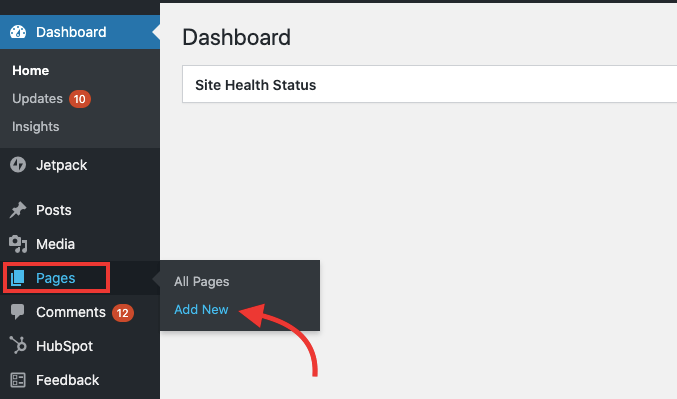
First, go to Pages > Add New as shown in the screenshot below.
Now you have to add a shortcode to the page, Add [woocommerce_cart] shortcode and it will show your cart contents. as shown in the screenshot below.

After adding the Shortcode Publish the page, and you can see it on your website.
How to create a Checkout Page in WooCommerce
Checkout display product selection and checkout form. Customers can add products to order, remove them, and complete payment, to place orders from the Checkout page.
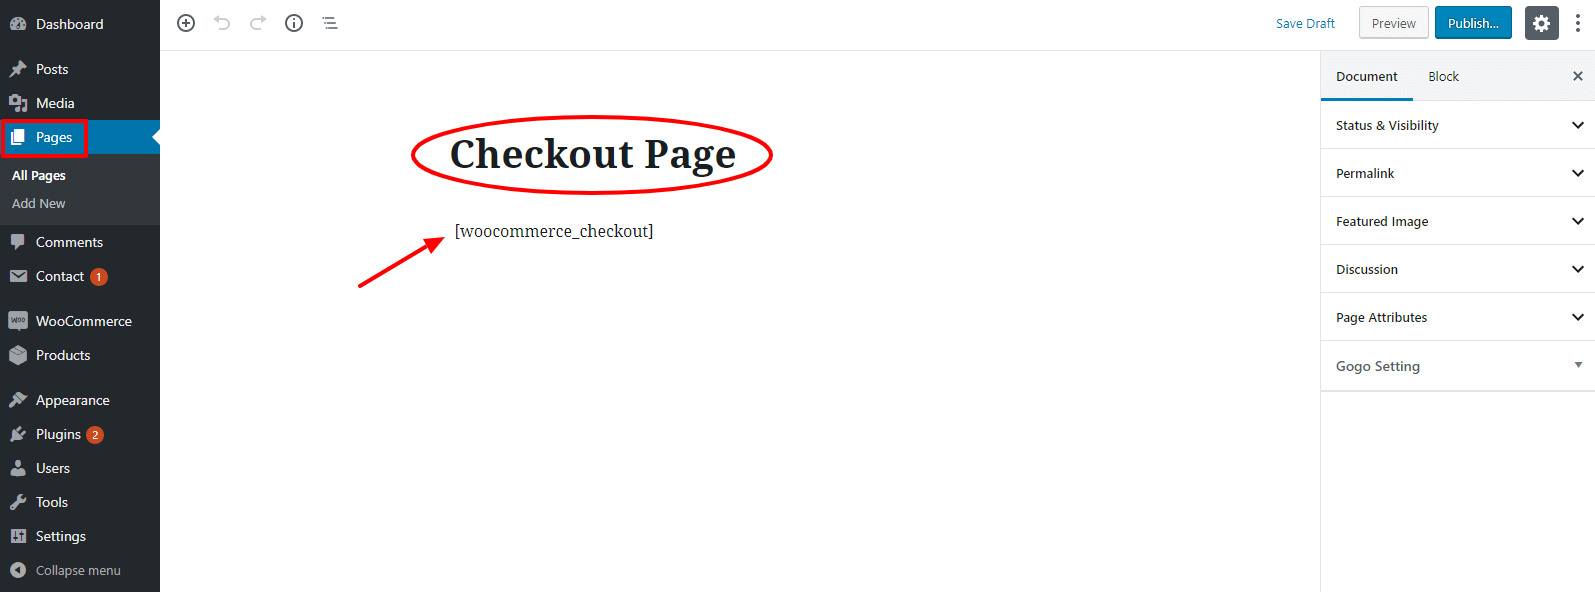
To create a Checkout Page in WooCommerce go to Pages > Add New as done before.
Now Add [woocommerce_checkout] shortcode, on the Checkout page and it will show the information such as shipping and payment options to customers. as shown in the screenshot below.
How to create a My Account Page in WooCommerce
The My Account page is one of the most important pages within the WooCommerce Store. It holds important information for your customers such as orders, their addresses, payment methods, account details, and other endpoints.
To create a Checkout Page in WooCommerce go to Pages > Add New as done before.
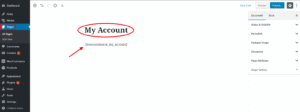
Now Add [woocommerce_my_account] shortcode and it will show information to the customers about their account, and orders and they can manage them.
Now you have to set Cart, Checkout, and My Account Page because these pages need to be set so that WooCommerce knows where to send users to checkout.
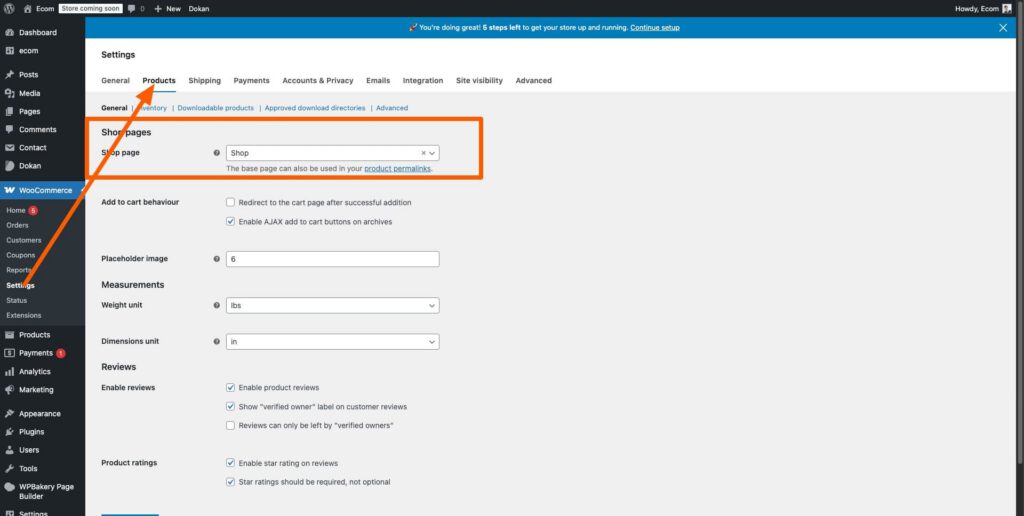
To set pages go to WooCommerce > Setting > Advanced.
In the Advanced Page setup, set these pages by choosing pages from the Select Box, as shown in the screenshot below.
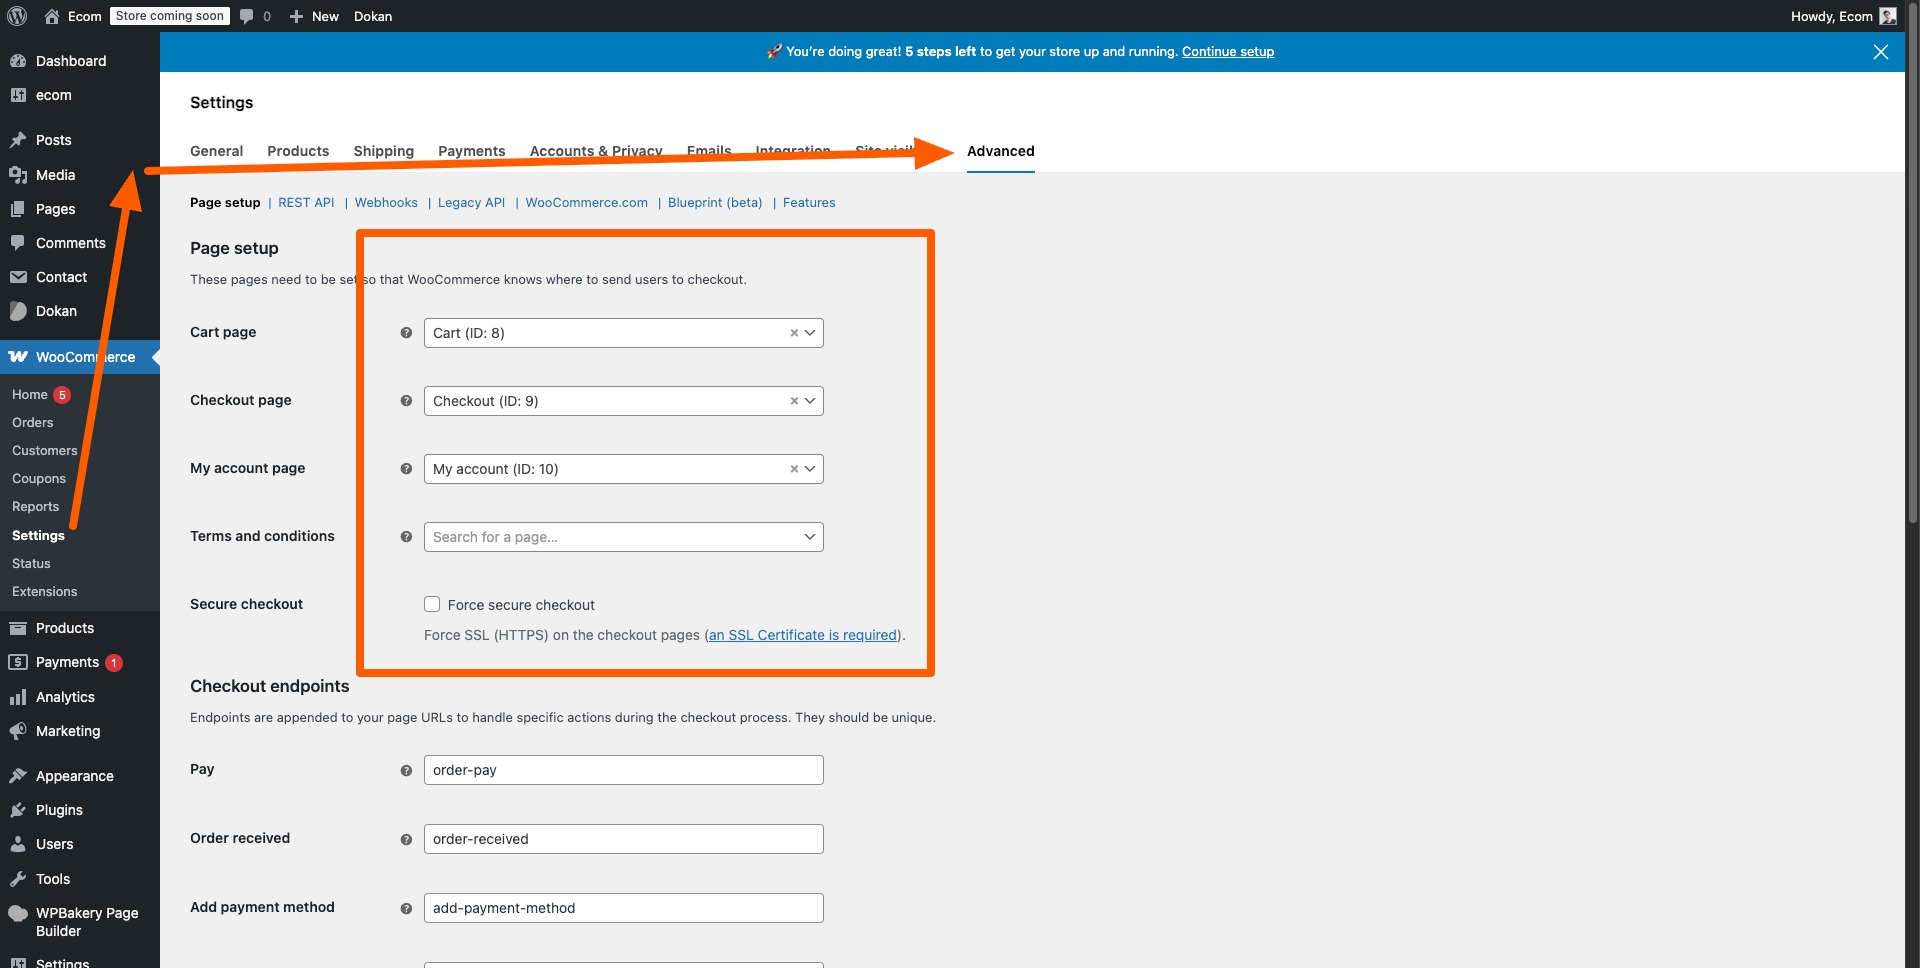
After selecting the pages, click on the Save Changes button to save your edits.
So now you have successfully created all essential WooCommerce pages, for your eCommerce Store.
If you find these steps difficult, then you can also create WooCommerce pages automatically, in this procedure if your pages are not created, or they are not visible to you, they will work fine after doing this. Just follow the given instructions.
- First Go to Dashboard > WooCommerce > Status.
- Now Click on the Tools tab from the top left area, As Shown in the screenshot below.
-
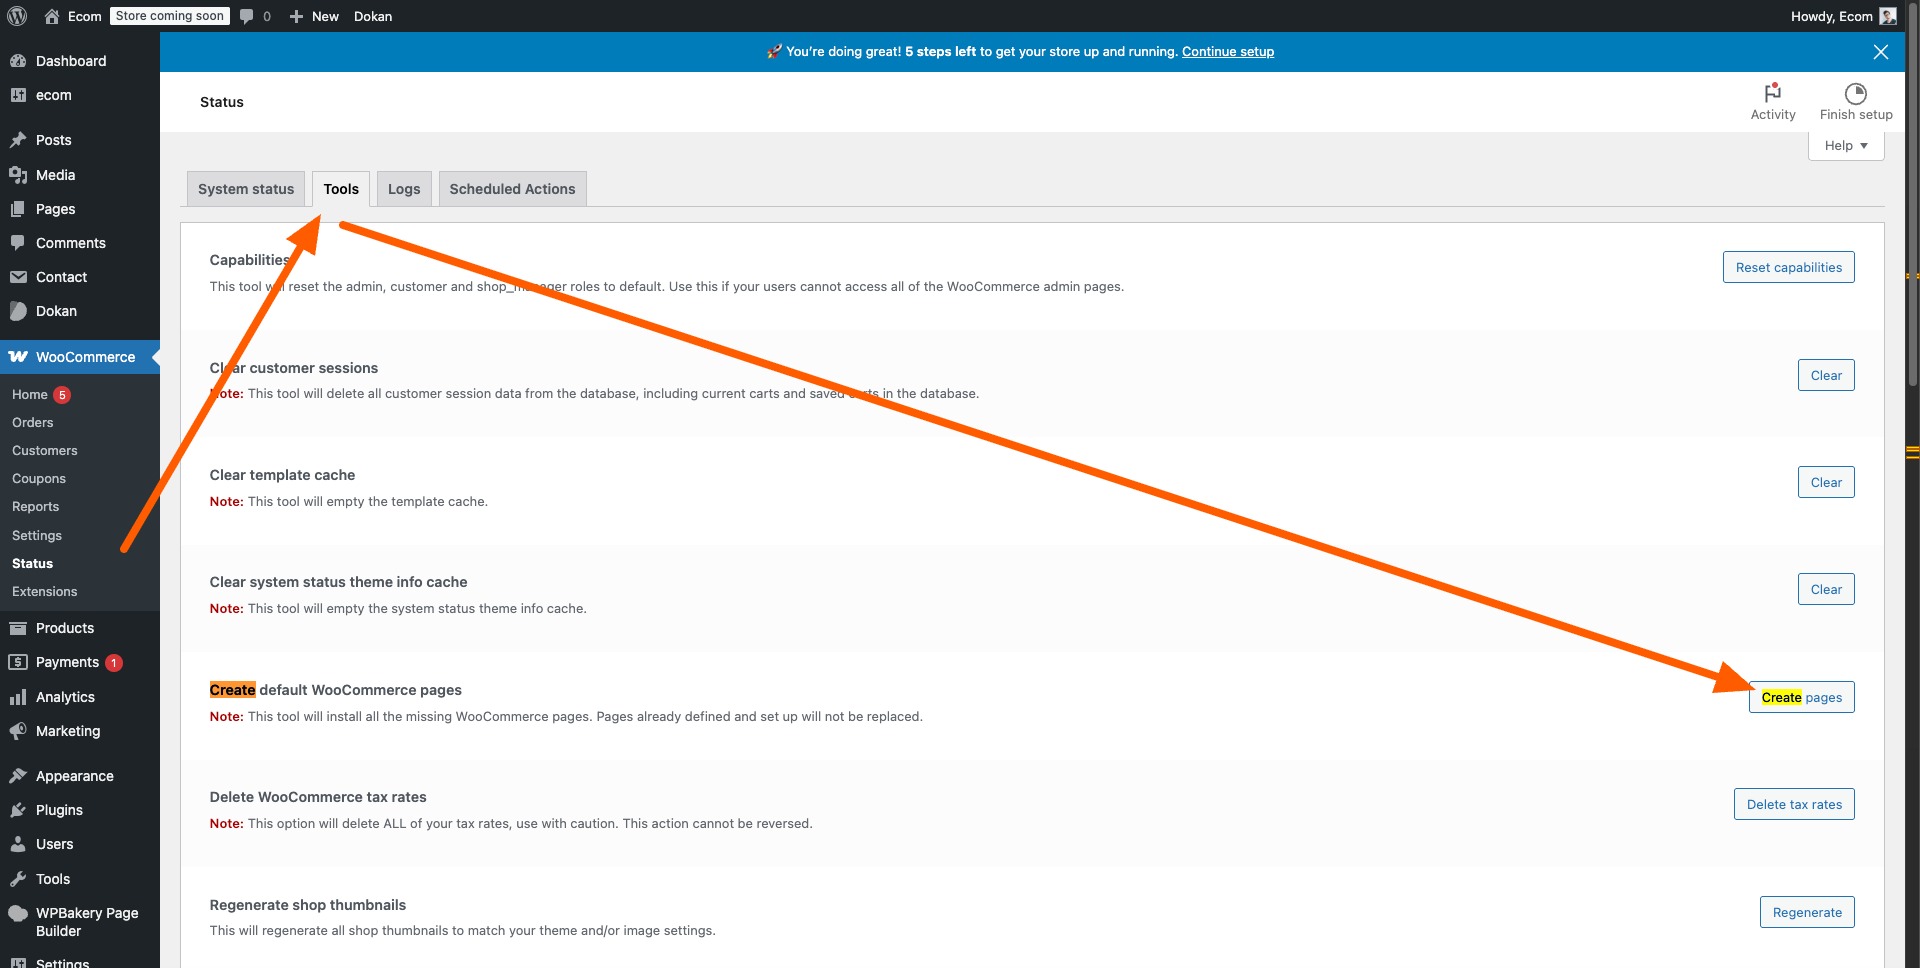 Scroll down to “Create default WooCommerce pages”
 - Now Click on Create Pages, as shown in the above screenshot.
After doing these steps all your missing WooCommerce pages will successfully install. and you can see them on your website home page.
Leave a Reply